


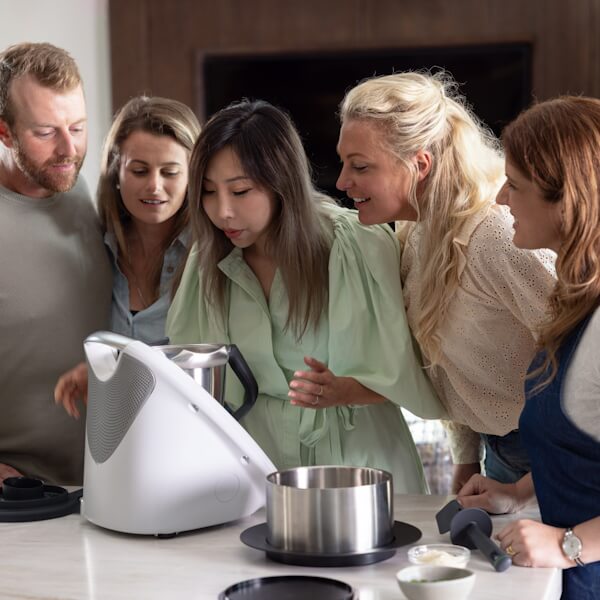


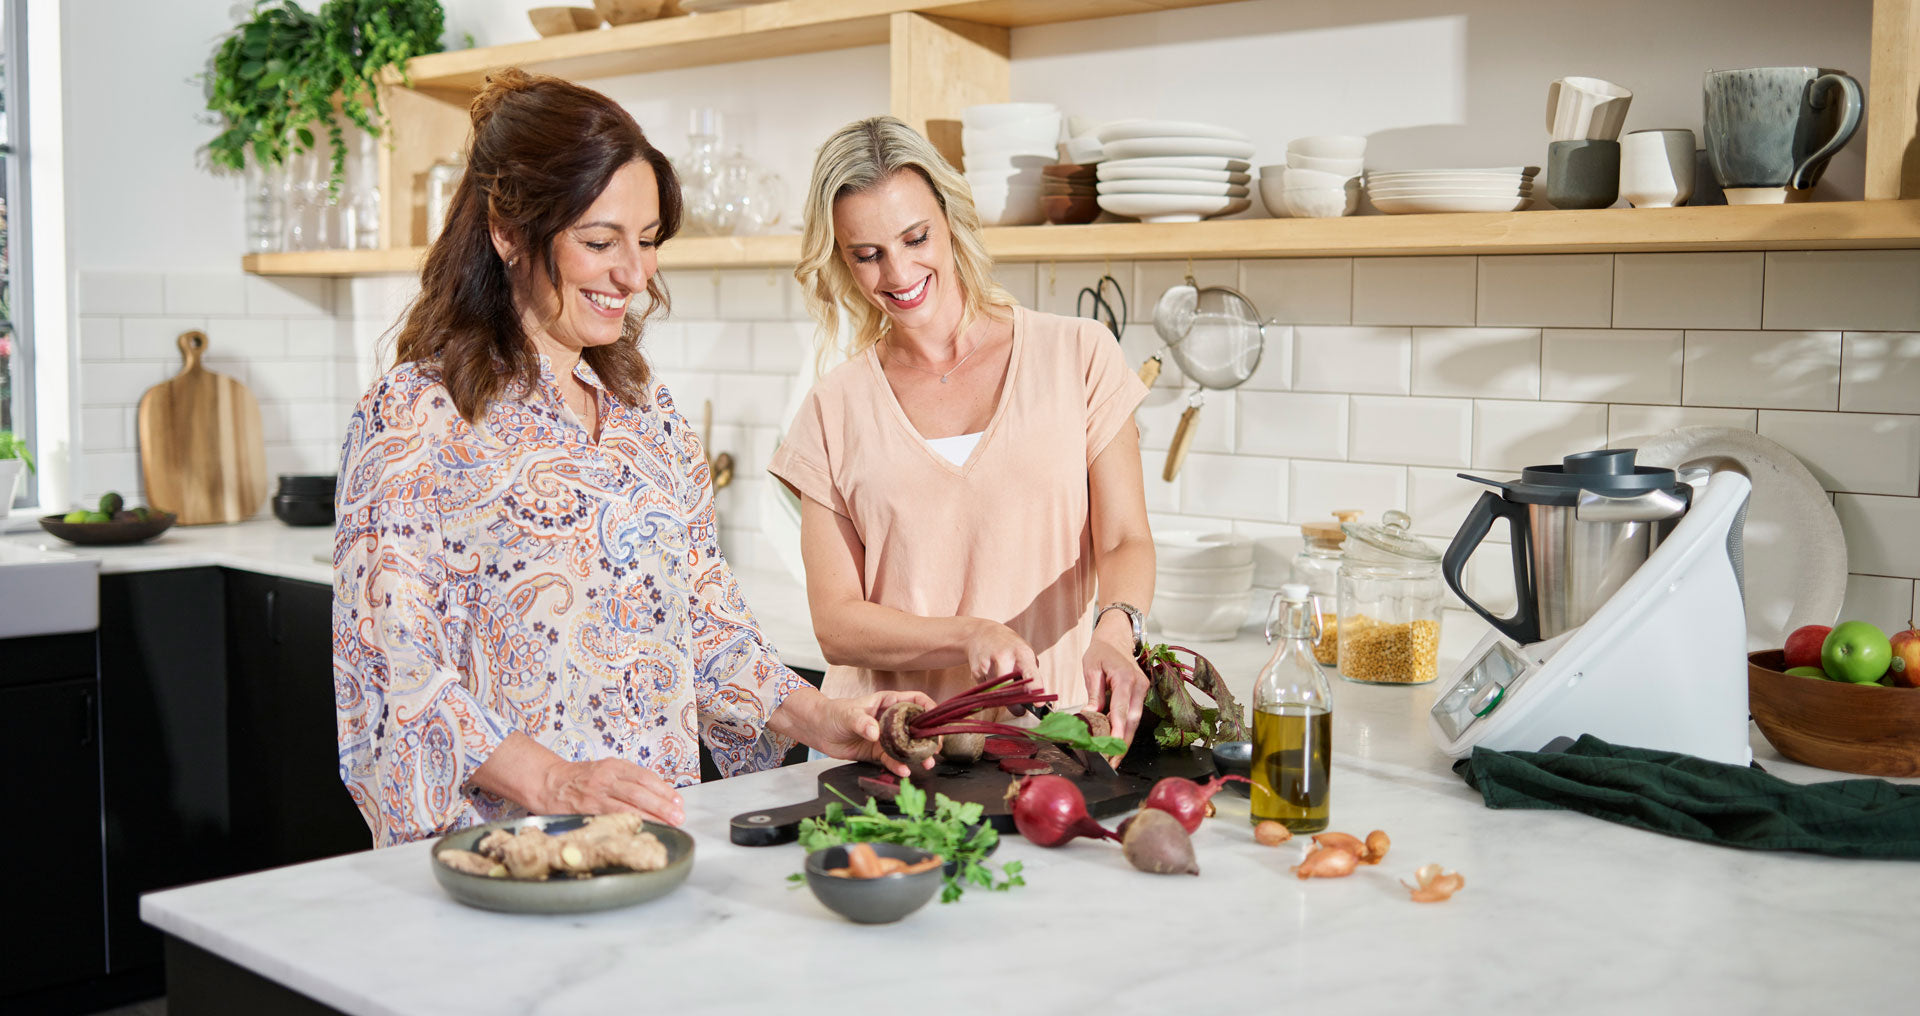


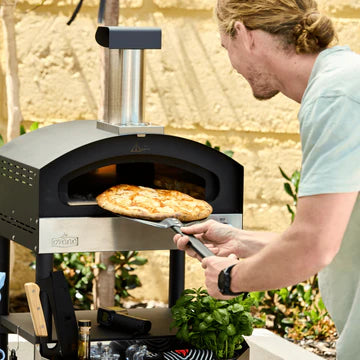

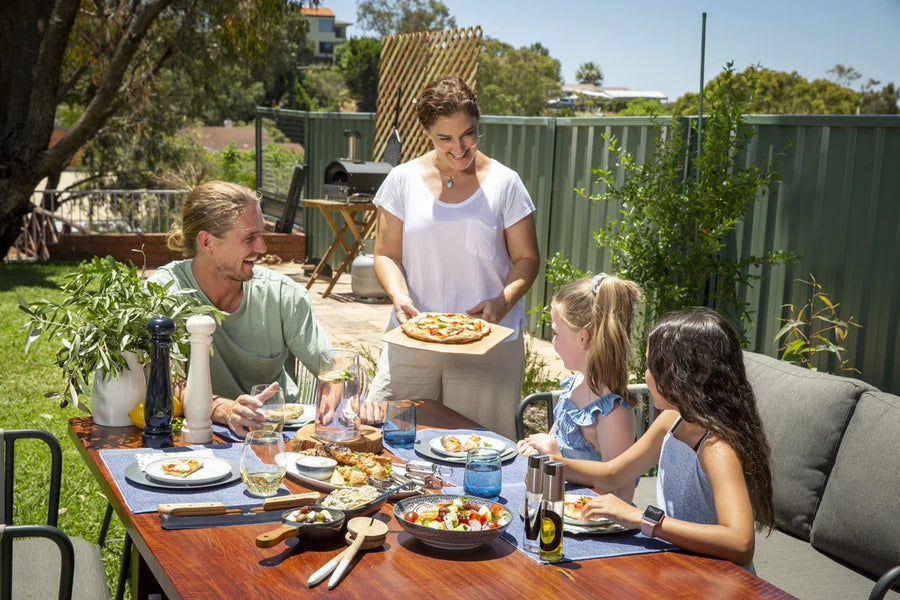


Nothing screams “It’s summer” like the sizzle of burgers on the barbecue, but everyone’s got their own idea of what goes into building the perfect burger. Purists might say it only needs red onions and ketchup. Plenty love to pile on the pickles. And some have just gotta have avo, bacon and cheese. So how do you keep everyone happy, but still keep it simple? Just put your Thermomix® to work on every bit of prep, follow our easy burger board building how-tos, sit back with a glass of something chilled and let your guests enjoy them just the way they like them.
Elevate your offerings with more toppings

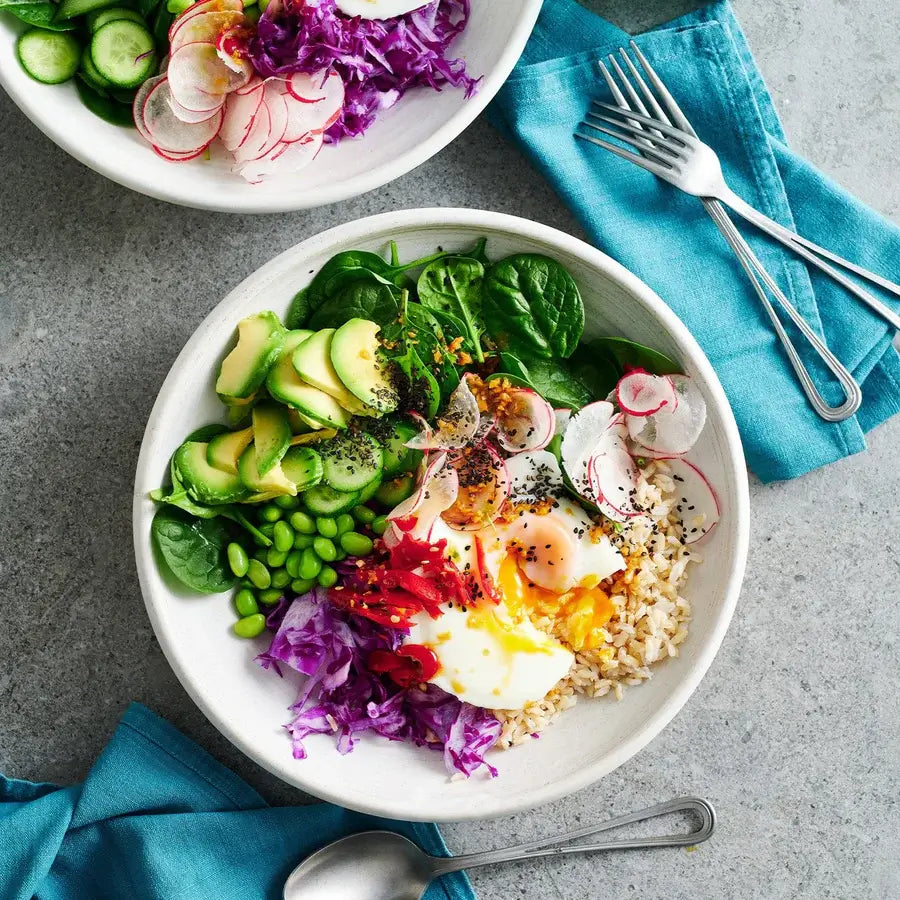
Adding some simple extra toppings can totally knock your burger board out of the park and win the crowd. And the best news is you can cut your chopping, slicing and grating time right down to a matter of minutes with the Thermomix® Cutter.
Cut out the chopping board and knife, mandolin slicer and cheese grater – this is the quickest and easiest ever lettuce shredder, tomato slicer, carrot cutter and grater, cucumber and onion slicer. All perfectly, evenly sliced in minutes, without the strain on your wrist and the big post-prep clean-up.
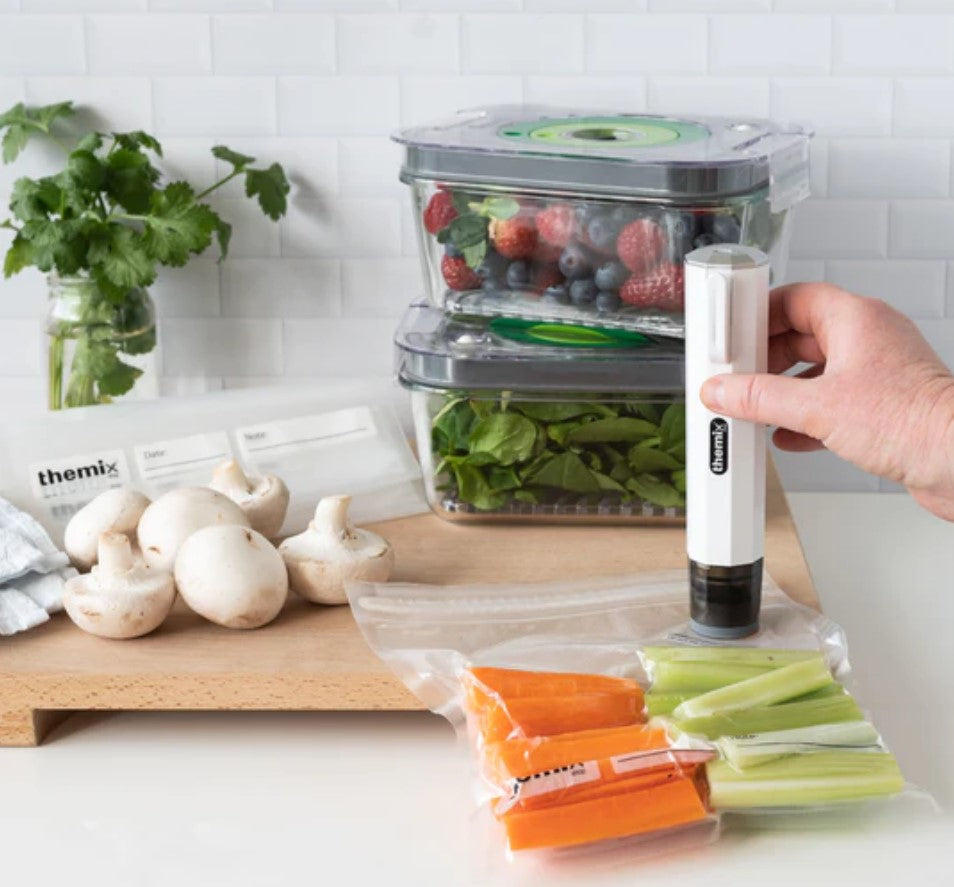
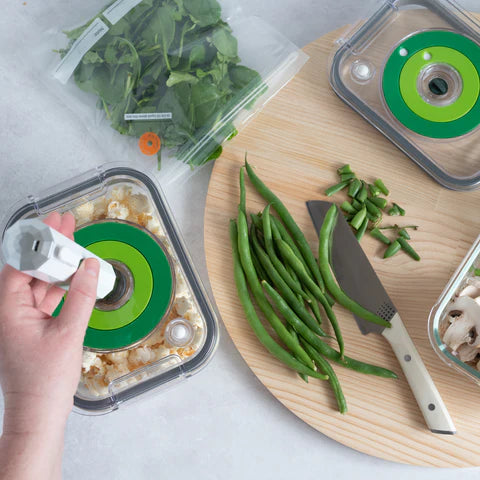
You can even get your vegetable cutter prep done the day before and keep every slice and shred (even your lettuce) just-cut fresh by vacuum sealing them in the Vac U Seal containers. When you remove the oxygen, you’re slowing the spoilage process right down and helping your toppings stay naturally fresh for longer.
Pack more punch with pickles

Pickles are the perfect pairing for burgers, as well as grilled sausages, roast pork, ham, cheese and pastrami sandwiches. Sweet Cucumber Pickles is our top pick of the pickle recipes and so quick and simple to make with the aid of the new Thermomix® Cutter.
And you don’t need to be pickling cucumbers or prepping any other types of pickles weeks in advance when you can just vacuum seal them in a Vac-U-Seal container set – your veggies soak up all the flavours much faster, speeding up the whole process.
Sliders or regular burgers?

Both sizes will please a crowd. But sliders are best if you’ve got little kids to please. And your full-sized adults have the option to come back for more and build a few different ones.
A full Thermomix® Mixing Bowl of burger mix can be shaped to make six regular burgers or 10-12 slider-sized burgers – you’ll just need to adjust the cooking time for smaller sliders.
Try this trusty trio of our favourite recipes to please your true-blue beef burger traditionalists, your lighter meal lovers and your plant-based mates.


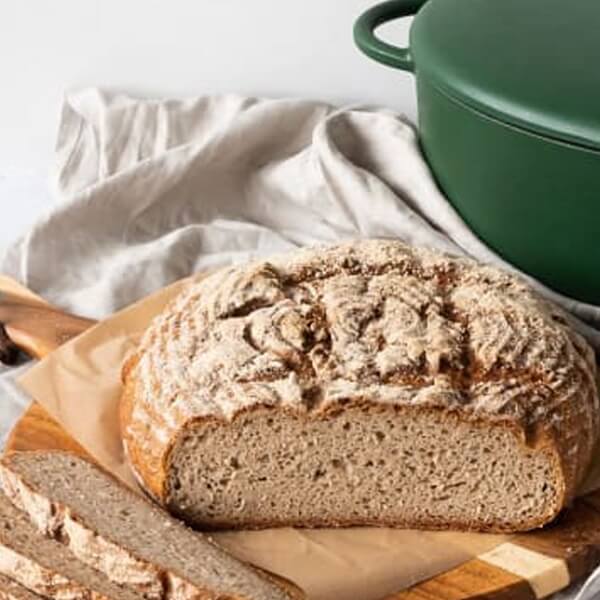
Bring out the best buns under the sun

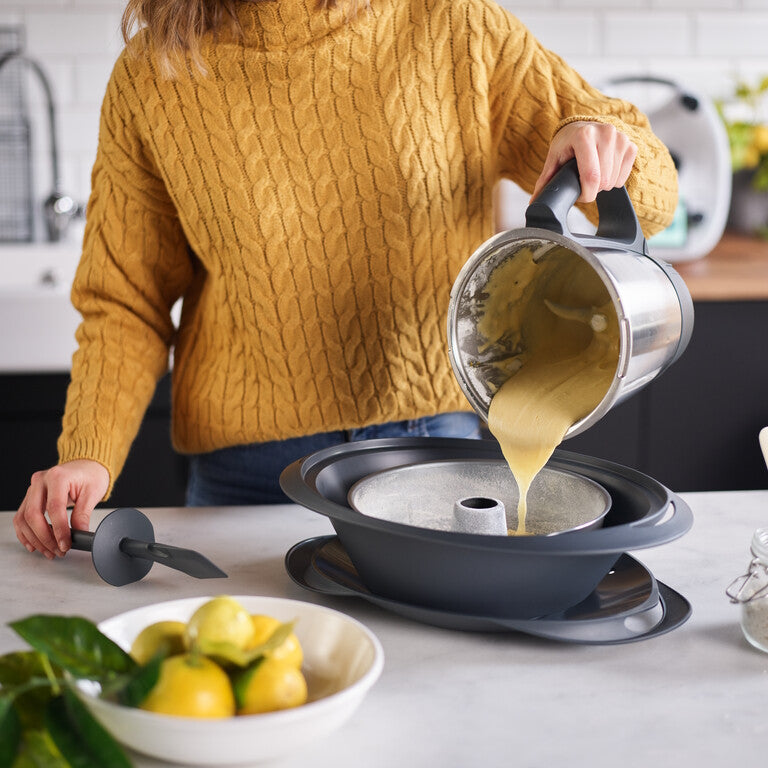
A good, fresh homemade bun, lightly toasted on the barbecue, has as big an impact on every bite as your burgers, so leave those storebought packs full of additives and preservatives on the supermarket shelf and let your Thermomix® do all the hard work on your dough. Even if you’re pressed for time, you’ll whip up a batch hamburger rolls in no time. And our Brioche Buns are a breeze, with just 15 mins prep time.


No need to complicate your condiments
Keep it super easy with squeezy bottles for sauces and arrange them together on a separate platter or board to create a condiment station. That way, you’ve got space to cater for everyone’s preferences – ketchup, mustard, mayonnaise, BBQ sauce, chili sauce, Thousand Island dressing – and your spread won’t get cluttered with all those extra bowls, spoons and spreading knives.
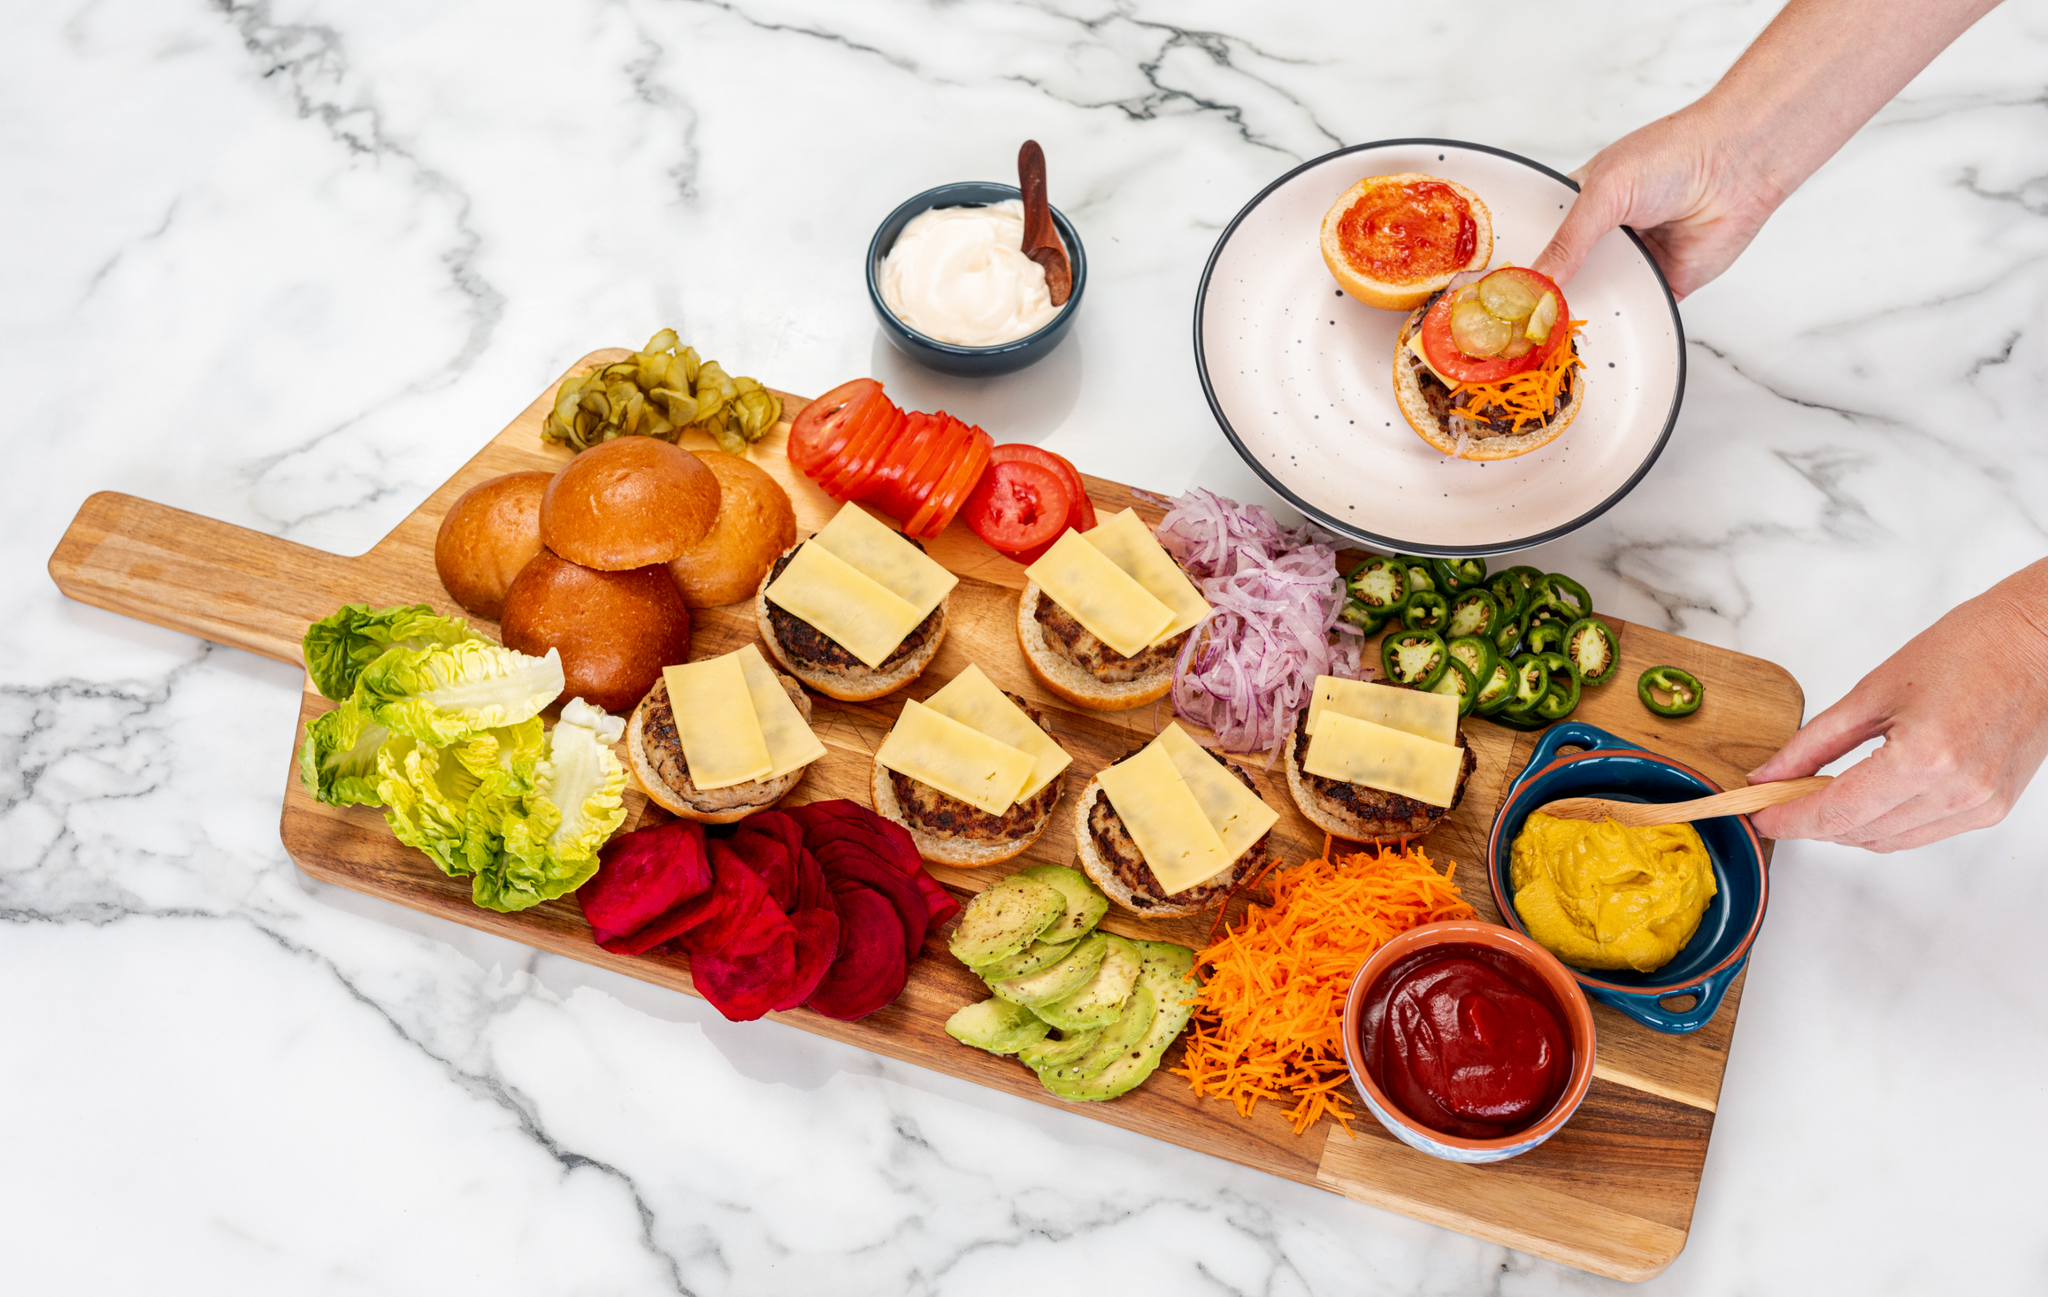
How to build your burger board
With just a few finishing touches, you’ll lift the humble backyard burger to gourmet grazing board level in minutes. Just make sure your board is big enough. You’ll need one that’s at least 45cm x 60cm – this grazing board is the ideal size – giving you enough space to arrange everything so everyone can easily grab what they need.
- Place a dinner plate in the centre for your burgers when they’re ready to serve.
- Create a crescent of mini dishes for relish, pickled cabbage, sauerkraut and sprinkles (such as bacon bits) around the left-hand side of the plate and add spoons and spreading knives.
- Line the top corner of your board with the burger buns.
- Nest lettuce shreds against the mini dishes, or in the top left and right corners of the board.
- Starting on the right side of the burger plate, and working outwards in a circular formation, lay out your remaining sliced toppings, pickles and toppings.
- If you’re serving potato chips, pop them in the bottom-right corner.
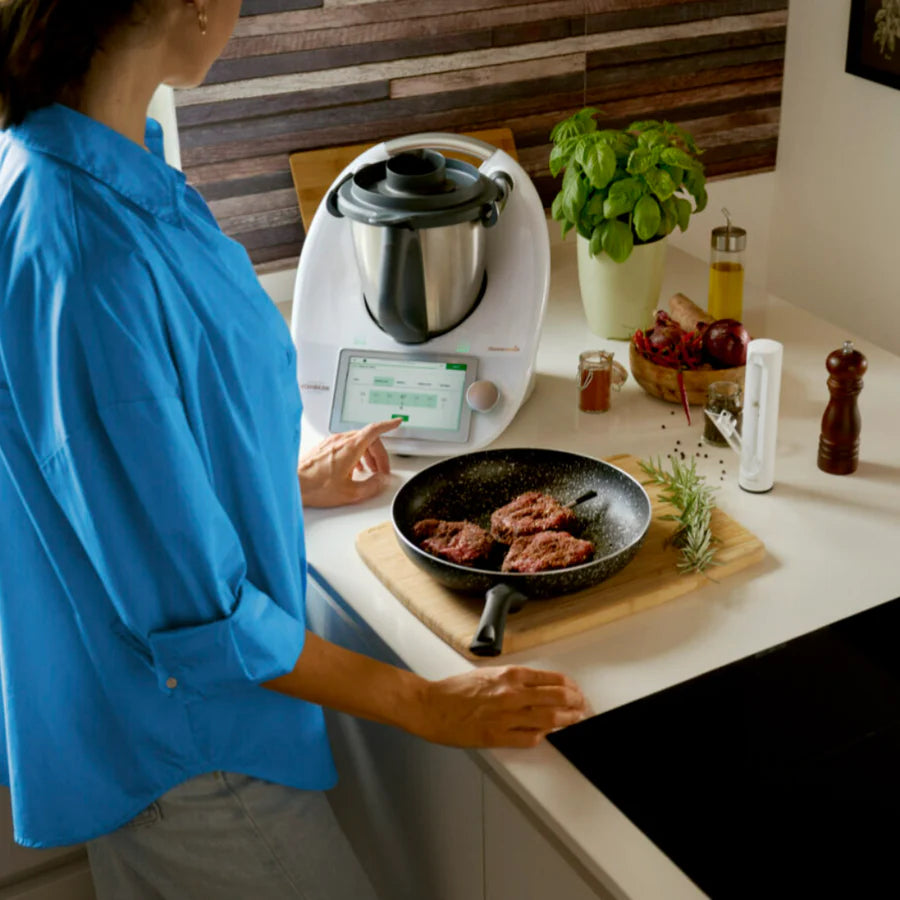
- Grill your burger patties, and for any guests who want cheese on top, add the slices to the burgers straight off the grill so they melt nicely.
- If you’re catering for gluten-free guests, you’ll be their best friends if you take extra care to avoid cross-contamination by building a mini burger board just for them. The Buckwheat and Almond Slider Buns are a winner.
The component combinations are endless…

- Cheese slices (Cheddar, Swiss, Colby Jack, Pepper Jack)
- Shredded lettuce
- Tomato slices
- Red onion slices
- Jalapeños slices
- Avocado slices
- Pickle slices
- Chutney/relish
- Crispy bacon rashers or crumbs
- Ketchup
- Mustard
- Mayonnaise
- BBQ sauce
- Thousand Island dressing
- Potato chips
- Hot chips
Be the host that gets the most from your Thermomix®.
The new Thermomix® Cutter is one of the eagerly anticipated exclusive Thermomix® Host Rewards. Book your Cooking Demo now and be among the first to get your hands on one!